In Part 1 of our comprehensive series about marketing tag and pixel management, we learned what tags are and how they work. Now that we have an understanding of what these things are, it’s now time to get a grasp as to what is going on now on your site. For this, we’ll need a Tag Audit.
In a Tag Audit you will want to really understand a few things:
- What tags do I have on my site right now?
Questions to ask regarding the full tag inventory – What do I need, what do I not need, what new platforms should I be using to gather more information and ultimately enrich my marketing and analytics practices? - Where are all of these tags?
Questions to ask about tag and pixel location – Is each tag on all pages, just on confirmation pages, just on landing pages? Are there gaps in coverage causing blind spots in my reporting? - Are there unauthorized tags on the site?
The question here is if there are unauthorized third parties collecting user information? Is that Data Management Platform that we piloted last year still on some pages, is the legacy analytics platform we phased out in 2013 still in some site sections, etc.? We wrote a little about these when we discussed Zombie Tags around Halloween. - How is each tag loading?
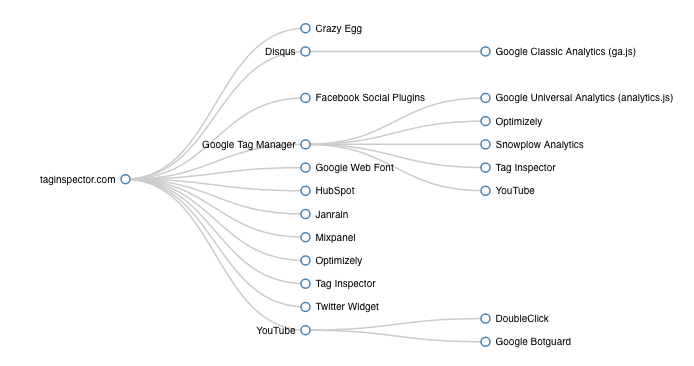
The key here is to get an understanding of exactly how the tags are getting on your site. Are some tags loading from the source code, some loading through the Tag Management System, some piggybacking off other tags?
Once you understand what is going on, a plan can be put in place to build a solid tag architecture leading to analytics bliss.
So we see the process, let’s get into the steps.
Step One
Get a view of the full tag landscape on the site. In many cases, this looks like a daunting task. Thousands of pages on the site, hundreds of different interactions are being tracked, how can we possibly go through each and every page to see all of the tags that are firing and all of the data being collected?
Well, you can go about it manually, page by page looking at your browsers developers console and recording all of the requests on each page.
However, I would highly highly recommend using an automated site scan for this. A scan using Tag Inspector is one of such automated site scans (sign up and scan up to 50 pages free here) but there are also a few other tools out on the market that can help you out.
As a result of a full site tag scan you will have an output that looks something like this:
Or this:
With the latter, which is an export of a Tag Inspector scan report, we can filter to answer the first question (what tags are on the site right now) or with the former option, the full list is there within the scan report.
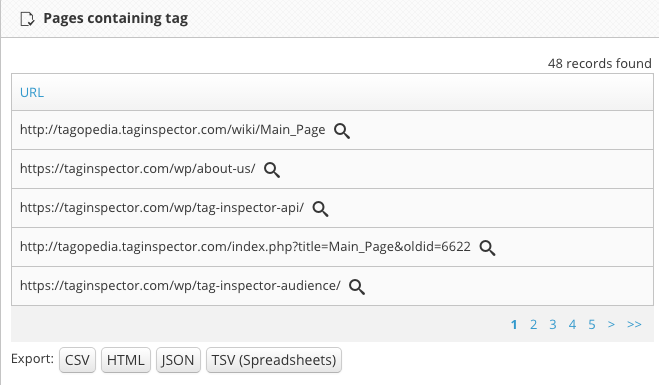
In both of these examples we also have a list of all pages containing each tag:
A visual (or stack trace if preferred) of how each tag is loading:
Now it is time to organize this information in one central place. For this, there are several different options. You can put it all in a central spreadsheet, link the documents together in an internal portal, or place all within a single folder and link the documents for easy access. No matter the form, the keys to remember are the questions above so you can create the Tag Policy or Plan for cleanup and central place of truth moving forward.
To learn more about the process of creating a Tag Policy and central Tag Governance Documentation, check out the next part in the series on Tag Governance Policy. Or, to read the completed series, click here!
As always, please let us know if you have any questions or if you would like to learn more about a specific part of the Tag Audit down below in the comments.


